# Receiving invitations
When the sender selects the ‘Schedule an appointment’ feature, you will need to choose the date, time and attendees.
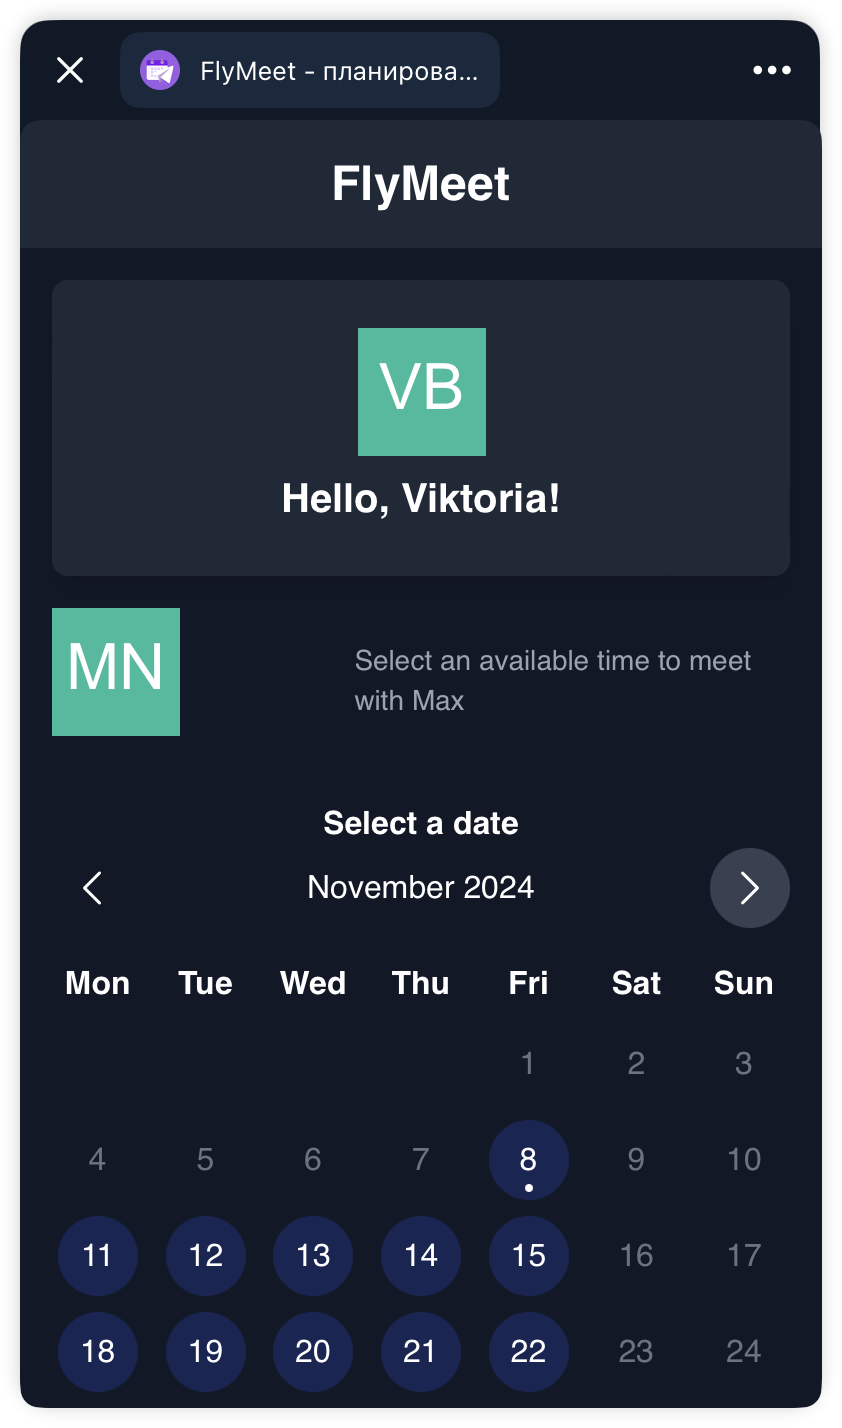
1. Click **‘Select meeting time’** or **‘Schedule a meeting’** under the invitation;
2. In the window that opens, select an appropriate **day**;
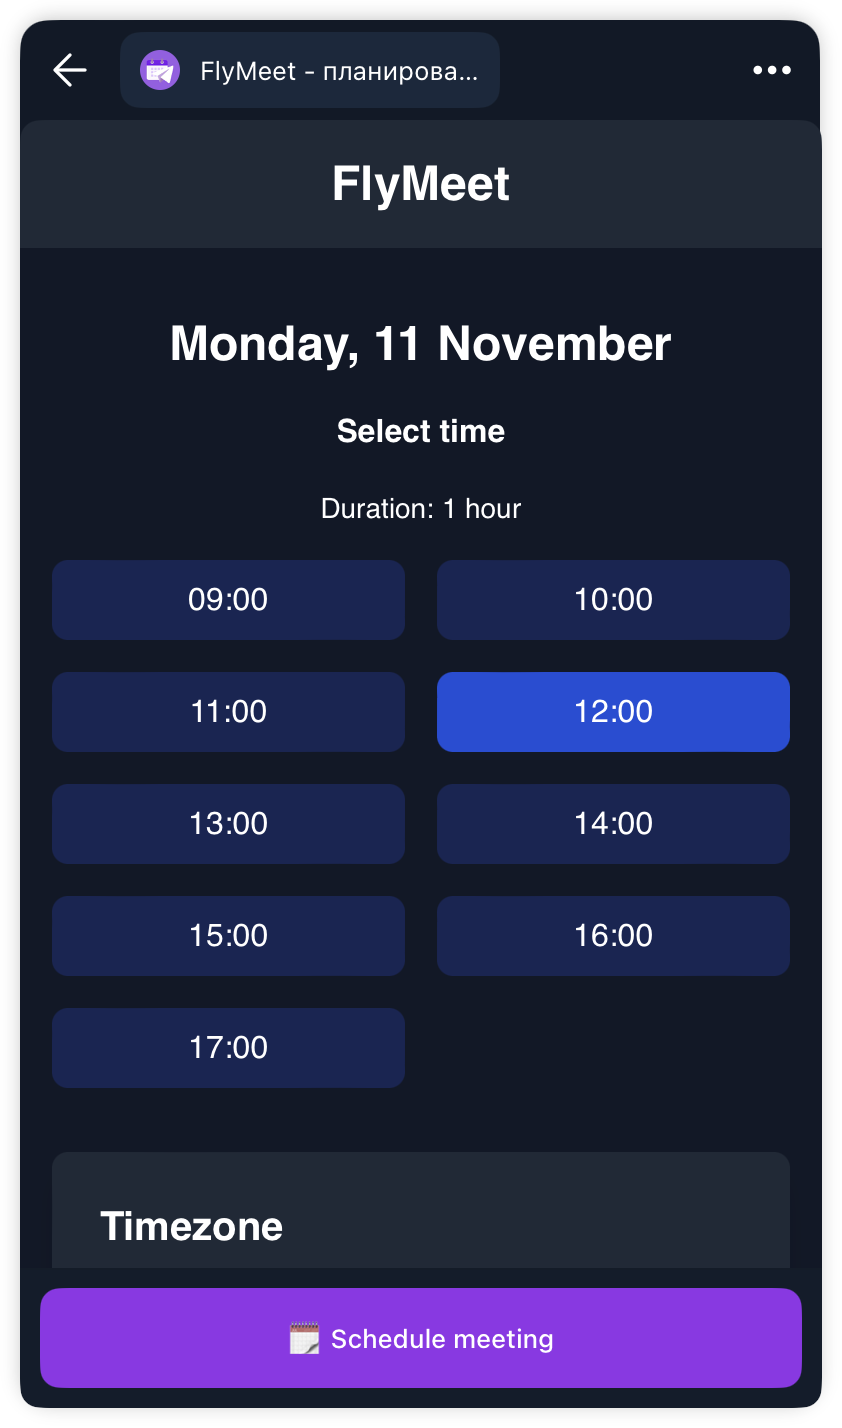
3. Choose an appropriate **time**;
4. In the window that opens, add **comments** (task descriptions) and **other participants** via their nicknames (@....) if necessary;
5. Once you've entered everything you need, click **‘Schedule Meeting’** — all users on the list will automatically be notified of the day, time and attendees.
Done: the meeting is scheduled and you will receive a reminder **5** minutes before it starts.